This is our second post from director Aaron Beaucher on the making of the new A Pale Horse Named Death video “DMSLT.” An updated gallery follows.
Check out the first post here.
*****
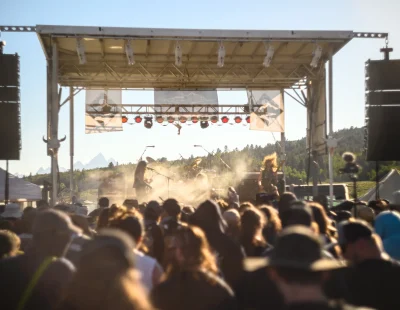
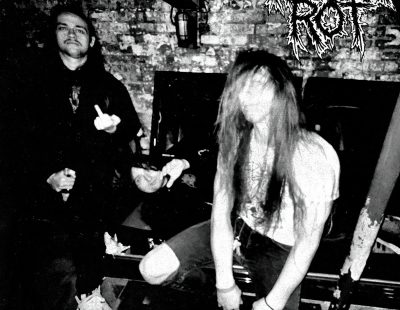
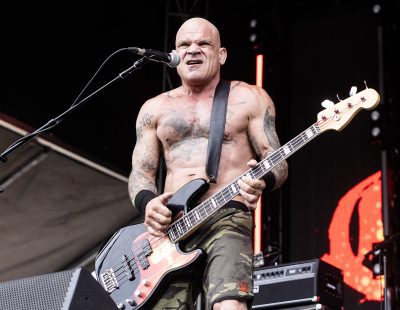
During filming we tried to capture as many angles as possible. Before a shoot, I typically sit down and visualize the angles I want and create a rough shot sheet to make sure I get what I need. If I could offer one piece of wisdom to budding directors out there, it would be this: pre-production is the savior of all things. With music videos, it’s a little tougher to map things out specifically, so you have to be agile and work to find your shots as they present themselves. To that end, keeping the Canon EOS 7D off the sticks and in handheld mode was crucial to us capturing some strong live visuals. I originally thought the GoPros would capture some great cutaways, but due to having to wing it with the screenless, uber-wide-angle solution, they didn’t net out as well as I would have hoped. Even so, we captured a TON of really great shots, as you will see from some of the live camera stills below.
The next day we pulled all the footage into Adobe Premiere. I won’t get into a ton of detail on the editorial program, but for you film geeks that are curious as to why we use it, go here. We typically don’t “finish” anything in an editorial program, and in this case, where we’ll have a decent number of layered effects, the final product will be imported and assembled in After Effects, a compositing program that plays nicely with Premiere.
Once we had everything in sync, we took our favorite angles/shots and laid them out on a timeline. We captured a really great rack focus two-shot of Sal and Matt that had some beautiful light leaks. Eddie and Dave had some nice shots of light highlighting their guitars and creeping through their hair. It is funny because during the entire song I don’t think Dave every reveals his face – if he does we are still hunting for it. From there we looked through the remaining angles for strong cutaways and tried to balance the amount of coverage we used of each band member. The GoPros we mounted to the drum kit actually worked out well, giving us some quick snips to mix into Johnny’s cuts.
Since the finished video will feature some heavy post-processing utilizing the melting effect we plan on doing in the next phase, we really wanted to explore and give ourselves lots of options to allow the edit to breathe in case we need to open it up in some places to allow the effects to play out. Our next steps are to outline where the overlays will happen and pull those still frames and prepare for the effects shoot.
In our next Glimpse Behind the Horse, we’ll have some behind-the-scenes footage and outline in full detail how we achieve the melting effect that will permeate the DMSLT video.


